I really hope you all enjoyed the DIY Photo Envelope Liners from the other week, because I’ve partnered with Cricut again to bring you another cute DIY you will love!
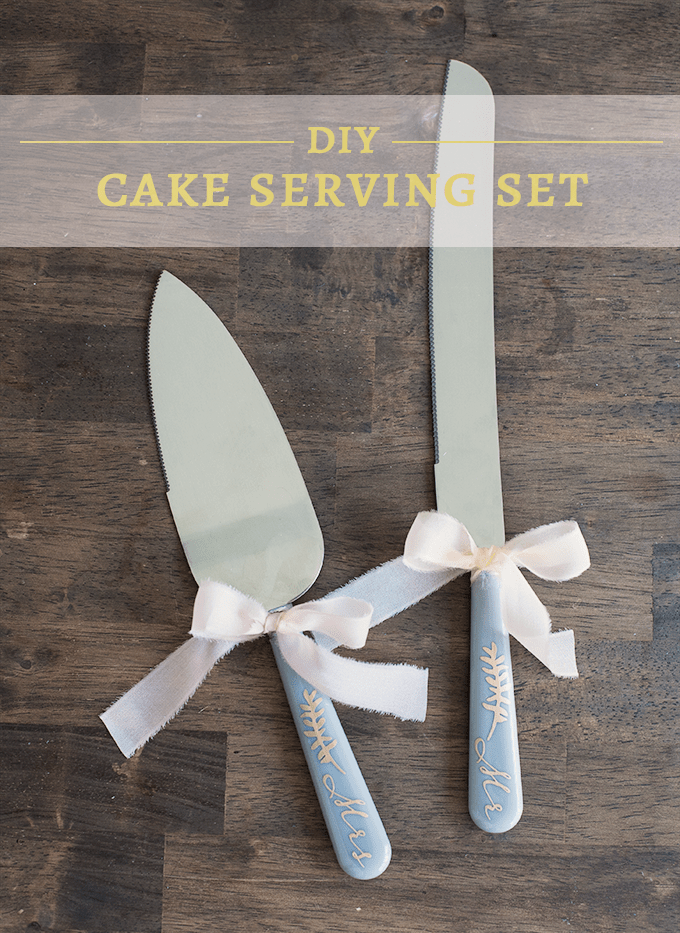
The cutting of the cake is an age old wedding tradition and whether you are having a classic cake or even a wedding pie, you need something to cut and serve them with. But unfortunately, there really aren’t that many great choices when it comes to serving sets. They are either plain or cheesy, or really expensive. Enter Cricut, here to make your day personal, fun, and you! I decided to liven up this boring set of servers I found with a sweet Mr and Mrs gold foil detailing. The Adhesive Foil is probably one of my favorite tools in my Cricut box, because who doesn’t love a bit of shimmer and shine? It comes in a variety of colors from traditional metallics like gold, silver, and copper to colors like teal and purple.
Don’t have a Cricut yet? Head over here to grab yours now and start creating your one-of-a-kind wedding!
It’s Your Story, Make It Personal
Supplies:
- Cake Serving Set
- Cricut Explore Air™
- Cricut Adhesive Foil
- Cricut Transfer Paper
- Cricut Tool Set (including Scapper and Weeder)
- Ribbon

Step 1: Upload the Mr and Mrs graphics onto your Cricut Design Space™. Choose simple image. Since there is no backdrop, you don’t have to delete anything and can hit continue next. Then click ‘Save as a Cut Image’ to save, then insert onto the workspace. My servers were only about 1/2 inch at the bottom width, so I sized them down to the correct size needed. To save foil, I went ahead an put both images together to cut at the same time (you can do two Mr or two Mrs as needed, but both options are available). If you are cutting both at the same time, be sure to ‘shift’ click both layers on the right side bar and select ‘attach’ to make them an attached set (should look like the below). Save the project and start up your Cricut to get ready to cut!

Step 2: Cut the width of foil that is needed (I did about an inch to give me play room) and attach to your mat and load. Either click the ‘Go’ button, or head to the Cricut Design Space™ app on your phone (my preference!) to go from there. Set your paper dial on the Cricut to custom and then choose Adhesive Foil. Once ready, click the blinking ‘C’ on the Cricut and watch the magic!
Step 3: Using the weeding tool (looks like some scary dentist’s tool), peal off the background on the foil layer. Be sure to get rid of those little bits hiding in the curls of the lettering so you are left with what you want to transfer.
Step 4: Cut a strip of transfer paper the same width as your foil images. Peel off transfer paper backing and place over your foil design. Use the scrapper tool to firmly adhere the transfer paper to the foil part. We are using the transfer paper to easily position and move the foil onto our server handles, so make sure it is sticking well.

Step 5: Peeling at a 45º angle, remove the transfer tape, making sure that all of the foil image is sticking to it. Place transfered foil image onto the desired place on your cake server handle and use the scrapper again to firmly adhere the foil to the handle. Peel back transfer tape again, making sure the whole design is smoothly attached to the handle.
Step 6: Add a pretty ribbon in your wedding colors, repeat with other pair, and enjoy your cute and easy DIY project!


Now remember, just like the other week, Cricut is still hosting fabulous weeks of giveaways! The grand prize includes all the last month’s fabulous prizes, plus a 4 day, 3 night Luxury Included® vacation to any Sandals Resort in the Caribbean! So head over to the giveaway page here ASAP to get in on all the fabulousness and win an amazing honeymoon!

![]()